Demystifying Unreal Engine Blueprints: What Are They?
Stepping into the world of game development with Unreal Engine often presents a crossroads: C++ or Blueprints? While C++ forms the powerful backbone of the engine itself, handling low-level operations and performance-critical systems, Unreal Engine's Blueprint visual scripting system is where most developers, especially those focusing on gameplay and design, bring their ideas to life. In essence, when you're crafting game logic within Unreal Engine, Blueprints are your primary tool.
Blueprint is Epic Games' innovative visual scripting language, specifically developed for Unreal Engine. Think of it as writing code, but without typing a single line of text. Instead, you connect different functional nodes in a graph-based interface to define behaviors, interactions, and game rules. This intuitive approach empowers designers, artists, and even novice programmers to prototype, implement, and modify virtually any game element without needing to delve into complex C++ syntax. It significantly lowers the barrier to entry for creating rich, interactive experiences.
The versatility of Blueprints is truly remarkable. You can use them to:
- Craft Game Rules: Define win conditions, scoring systems, and player states.
- Customize Players: Create variations with different meshes, materials, or character abilities.
- Manipulate Cameras: Prototype new camera angles or dynamically change viewpoints during gameplay.
- Manage Input: Modify player controls or allow players to interact with in-game items.
- Develop Items: Design interactive weapons, magical spells, dropped loot, or trigger zones.
- Build Environments: Create randomized environmental setups or procedurally generate world elements.
This visual approach not only democratizes game development but also dramatically speeds up iteration times. Developers can quickly test ideas, make adjustments, and see the results in real-time, fostering a more agile and creative workflow. While C++ remains crucial for highly optimized systems or custom engine features, for the vast majority of gameplay logic, Blueprints offer unparalleled flexibility and accessibility. For a deeper dive into the power of this visual language, consider reading Unreal Engine Blueprint: Master Visual Scripting, No C++ Needed.
Understanding Blueprint Types: Level vs. Class
As you embark on your blueprint visual scripting tutorial journey, it's crucial to understand the fundamental distinctions between the different types of Blueprints available within Unreal Engine. The two primary categories you'll encounter are Level Blueprints and Blueprint Classes, each serving distinct purposes in your game development workflow.
Level Blueprint: The Stage Manager for Your Scene
The Level Blueprint is a unique and specialized type of Blueprint, with one existing for every individual level in your project. It acts as the "stage manager" for that specific scene, housing a global event graph dedicated solely to events and Actors within that particular level. If you're familiar with Unreal Engine 3's Kismet system, the concept will feel quite familiar, as it operates on a similar principle.
A Level Blueprint is ideal for:
- Level-Specific Events: Handling unique, one-off interactions or sequences tied directly to the current map.
- Dynamic Loading: Managing the dynamic loading or unloading of specific level sections.
- Matinee/Sequencer Integration: Triggering cinematic sequences or reacting to their completion.
- Actor Instance Interaction: Binding events to specific instances of Actors that have been manually placed into the level, rather than to a general type of Actor.
While powerful for level-specific logic, the Level Blueprint is not designed for reusability. Its logic is inherently tied to that one level, meaning you cannot easily transfer or instance its functionality across different maps. It's best reserved for events that truly are unique to a particular environment.
Blueprint Class: Building Reusable Game Objects
In contrast to the Level Blueprint, a Blueprint Class is a highly reusable asset that allows content creators to effortlessly add functionality to existing gameplay classes or create entirely new types of Actors. You visually construct these in the editor, and they are saved as a distinct class within your project, entirely without writing any code. Essentially, a Blueprint Class defines a new category or type of Actor that can then be instanced and placed into any map, behaving consistently across all instances.
Blueprint Classes are the workhorses of game development and are perfect for creating:
- Custom Weapons: Define unique firing mechanics, damage types, and visual effects.
- Interactive Doors: Implement opening/closing logic, sound effects, and security systems.
- AI Characters: Script complex behaviors, patrol patterns, and decision-making processes.
- Custom Pickups: Design health packs, power-ups, or quest items with specific functionalities.
- Player Characters: Build entire player character systems, from movement to abilities.
The key advantage of Blueprint Classes lies in their reusability and object-oriented nature. You define the behavior once in the class, and every instance of that class in your game will inherit that behavior. This forms the backbone of most interactive elements in your game, promoting efficiency and consistency. To dive deeper into these foundational Blueprint types, check out Exploring Unreal Engine Blueprints: Level & Class Types Explained.
Your Blueprint Visual Scripting Tutorial Journey: Where to Start
Embarking on a blueprint visual scripting tutorial path can feel daunting given the sheer depth of Unreal Engine. However, a structured approach will ensure a smooth and productive learning experience. Think of this as a "dictionary" of knowledge—you don't need to learn everything at once, but rather focus on what you need as you go.
The Foundational Learning Path
1. Get Comfortable with the Editor: Before diving deep into Blueprints, spend time navigating the Unreal Engine interface. Understand the Content Browser, Details Panel, World Outliner, and Viewport. Knowing where everything is will make Blueprinting much more efficient.
2. Start with the Basics of a Blueprint Class: Create a simple Blueprint Class (e.g., an Actor Blueprint). Explore its Event Graph, Components panel, and Variables section. This will be your primary workspace.
3. Master Core Concepts Incrementally: Don't try to build a complex game from day one. Instead, tackle fundamental concepts step-by-step:
- Variables: Learn about different data types (Booleans, Integers, Floats, Strings, Vectors, Rotators, etc.), how to create them, and how to expose them for editing in the Details panel.
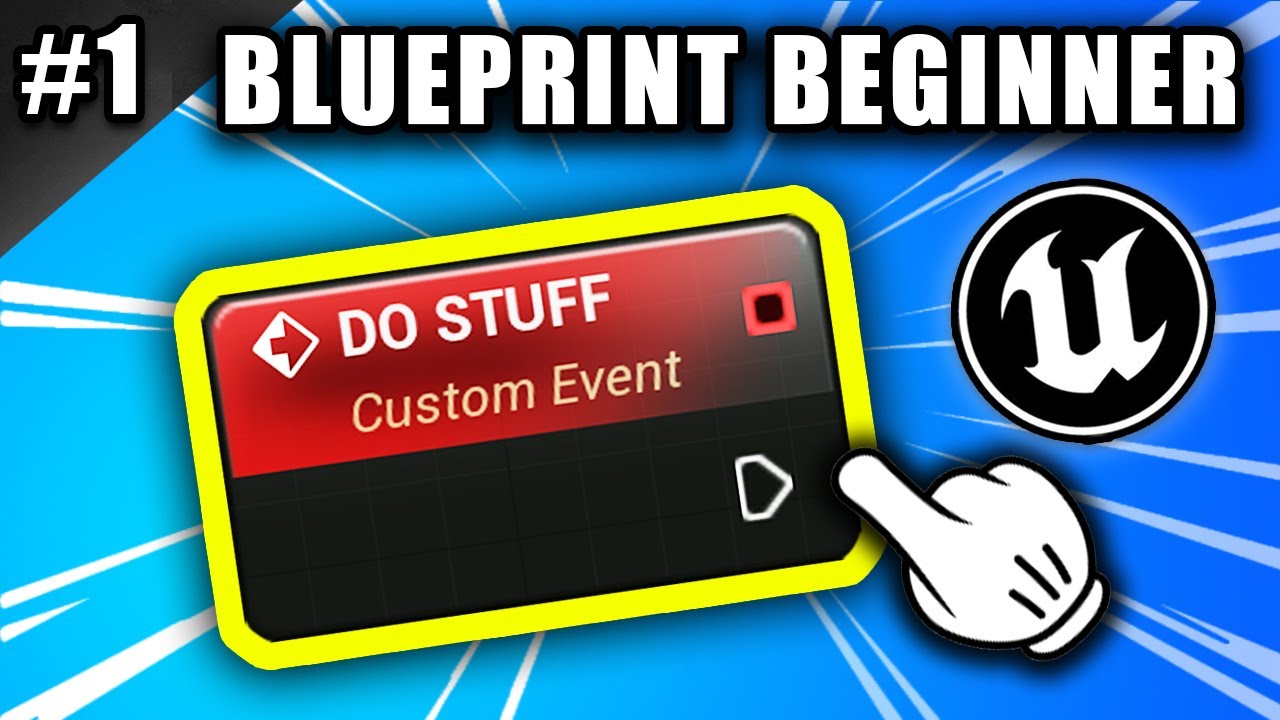
- Events: Understand critical events like Event BeginPlay (fires once when the game starts), Event Tick (fires every frame), and how to create custom events.
- Functions & Macros: Learn to encapsulate reusable chunks of logic into functions (which can return values) and macros (which are inline expansions). Understand the difference between pure and impure functions.
- Control Flow: Essential nodes like Branch (if-else statements), For Loop (iterating through arrays), Sequence (executing multiple paths), and Delay (pausing execution).
- Common Nodes: Get familiar with frequently used nodes such as Print String (for debugging), Cast To (to convert a generic Actor reference to a specific Blueprint Class reference), Get/Set nodes for variables, and various math operations.
- Components: Learn how to add and manipulate components (Static Mesh, Camera, Collision, Audio, etc.) to your Blueprint Actors to give them physical properties and interactions.
- Input: Understand how to set up input actions and axis mappings in your Project Settings and use them within your Blueprints to respond to player commands.
Practical Tips for Learning Blueprint
- Project-Based Learning: The most effective way to learn is by doing. Start with small, achievable projects. Think "make a door open," "create a light switch," or "build a simple pickup item." This hands-on approach solidifies understanding.
- Utilize Debugging Tools: Blueprints come with powerful debugging features. Learn to use Print String generously to output values to the screen or log. Familiarize yourself with breakpoints and the Blueprint Debugger to step through your logic and inspect variable states.
- Reference Official Documentation: Epic Games' official Unreal Engine documentation is incredibly comprehensive. It's often the quickest way to understand what a specific node does or how a system works.
- Watch Reputable Video Tutorials: Many excellent free and paid blueprint visual scripting tutorial series exist. Look for those that are project-based and taught by experienced developers.
- Analyze Existing Content: Open up example projects from the Unreal Marketplace or Epic's free learning resources. Study how professional developers structure their Blueprints.
- Experiment and Don't Be Afraid to Break Things: The beauty of Blueprints is how quickly you can test ideas. Don't be afraid to try different approaches, make mistakes, and learn from them.
Remember that while Blueprints handle much of the game logic, they often interact with other parts of the engine. You'll naturally touch upon concepts like BSP editing, various light types, particle systems, material editing, and sound design as you develop comprehensive game elements.
Tips for Effective Blueprint Visual Scripting
Mastering blueprint visual scripting tutorial isn't just about knowing what nodes do; it's also about writing efficient, organized, and maintainable logic. As your projects grow, adopting good practices becomes paramount.
1. Organization is Your Best Friend
- Comment Liberally: Use comments (C key) to explain what sections of your graph do, why you made certain design choices, and what complex nodes are intended for. Your future self, and any collaborators, will thank you.
- Consistent Naming Conventions: Adopt a clear and consistent naming convention for variables, functions, events, and macros (e.g., prefixing variables with their type, like 'b' for Boolean, 'I' for Integer, 'T_' for custom events).
- Collapse Graphs & Use Macros/Functions: For complex sequences of nodes, collapse them into a single node (right-click -> Collapse Nodes). Even better, turn reusable logic into functions or macros. This makes your graphs cleaner and easier to read, preventing "spaghetti code."
- Macro Libraries: For commonly used utilities or generic helper functions that aren't specific to one Blueprint, create a Blueprint Macro Library. This promotes maximum reusability across your project.
- Group Nodes: Use the Group tool (select nodes, then G key) to visually group related logic, adding a colored box and a title.
2. Performance Considerations
While Blueprints are generally performant for most gameplay logic, it's wise to be mindful of a few things:
- Avoid Excessive Event Tick Usage: The Event Tick fires every frame. While sometimes necessary, overuse for non-critical logic can impact performance. Can you achieve the same effect using events triggered by collisions, timers, or custom events instead?
- Validate References: Before attempting to use an Actor reference, always check if it's "Valid" (using the IsValid node). This prevents errors and crashes if a reference is null.
- Know When C++ Might Be Better: For extremely performance-critical systems, heavy mathematical calculations, or large-scale data processing, C++ might offer better optimization. However, for most gameplay features, Blueprints are more than sufficient and offer faster development.
3. Debugging Effectively
Debugging is an indispensable skill for any developer. Unreal Engine provides excellent tools for Blueprint debugging:
- Print String: As mentioned, use Print String frequently to output text or variable values to the screen or the Output Log. It's a quick and dirty way to see what's happening.
- Breakpoints: Place breakpoints (F9 key) on execution pins or nodes to pause gameplay execution and inspect the state of your Blueprint.
- Blueprint Debugger: Access the Blueprint Debugger (Window -> Developer Tools -> Blueprint Debugger) to step through your Blueprint logic, watch variable values change in real-time, and trace the execution path.
- Watch Variables: In the Blueprint Debugger, you can add variables to a "Watch" list to monitor their values as your game runs.
4. Stay Curious and Connected
The Unreal Engine community is vast and helpful. Engage with it:
- Community Forums & Discord: Post questions, share your progress, and learn from others on the official Unreal Engine forums or various Discord communities.
- Experiment with Marketplace Assets: Many assets on the Unreal Marketplace include their Blueprint logic. Studying how others have solved common problems can be incredibly insightful.
- Keep Learning: Unreal Engine is constantly evolving. Stay updated with new features and best practices by following official channels and reputable content creators.
Conclusion
The Unreal Engine Blueprint visual scripting system is a cornerstone of modern game development, empowering a broad spectrum of creators to realize their visions without the traditional hurdle of complex coding. From defining game rules and player interactions to crafting intricate environmental elements, Blueprints provide an intuitive, node-based interface that accelerates development and encourages rapid iteration. By understanding the different Blueprint types, following a structured learning path, and adopting best practices for organization and debugging, you can harness the full power of this incredibly versatile tool. Whether you're a seasoned designer or taking your first steps into game creation, Blueprints offer a direct and powerful way to bring your game logic to life visually, transforming abstract ideas into concrete, playable experiences.